Preparing the bodice:
Step 4: Create top casing
Mark the center, about an inch and a half from the top, create an eyelet (for the draw-string) Or a small buttonhole.
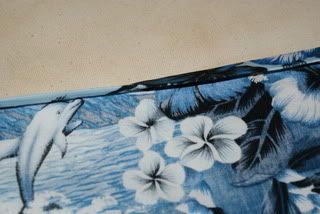
Make the casing by folding and pressing about a quarter of an inch, then over about 3/4 of an inch (so the raw edge is inside the casing).
Pin and sew the casing down, close to edge.
Step 5: Add ribbon drawstring
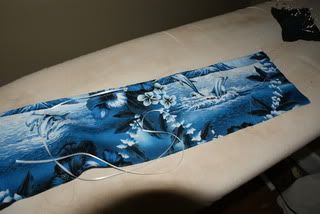
Cut a nice long length of ribbon- maybe 30 inches or so.
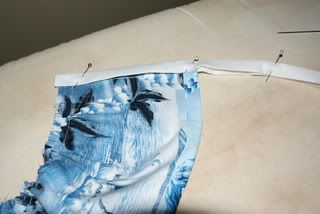
Using a large darning needle or safety pin, thread ribbon through casing, up through the eyelet, pin the ribbon to the casing opening, continue through the rest of the casing, and pin the other end to the other opening. You should have a loop of ribbon hanging out through the eyelet.
Stitch the end of the ribbon down.
Step 5: Gather bottom of bodice, using the same technique as the top of the body. Gather to about 12 inches for a small, or adjust to your size (this part should cover your boobs).
Step 6: Attach neck straps.
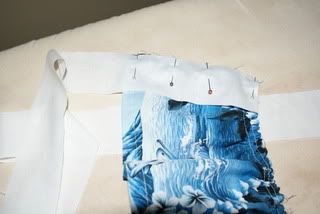
With right sides together, pin on of the neck straps along the side of the bodice and sew.
turn and press the seam allowance along the remaining length of the neck strap,
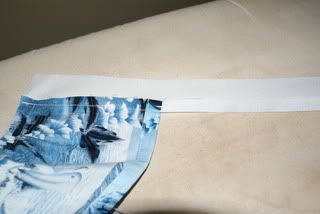
And along the opposite edge. Fold in half lengthwise, aligning the edges on the wrong side just behind the front (so you don't see it when looking from the front straight on). Pin and sew the length.
Repeat on the other side...
To be continued....






No comments:
Post a Comment