I love aprons... I made my pink confection a few days ago and got such a great response I decided to make a tutorial on how to make your very own. The one in this tutorial is for my friend for her birthday. I hope she likes it!
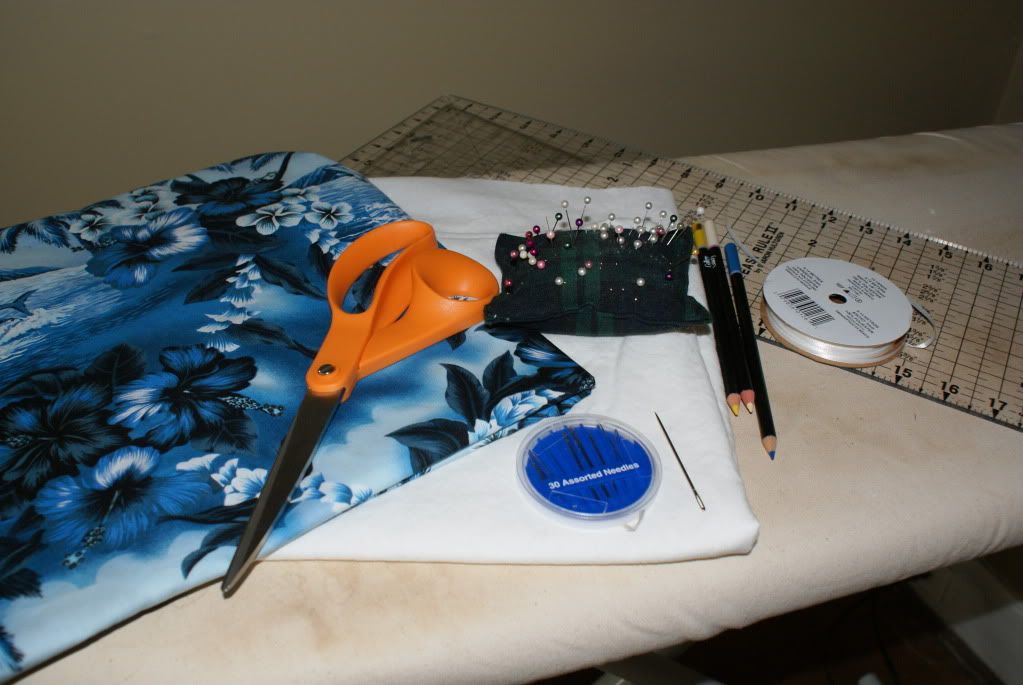
Step one, gather materials and tools:
1.25-1.5 yards Fashion Fabric
-.25- .5 yards contrast fabric for 'sash' and neck straps
-matching or contrasting thread
-20 inches thin satin ribbon for draw string
-Fabric Shears or rotary cutter
-Ruler or measuring tape and straight edge
-Sewing machine or hand needles
-Iron and board
Step Two: Cut out the parts
Cut a rectangle about 24 inches long by 6.5 inches wide, this will become the bodice.

For the body, cut a rectangle the width of your fabric by how long you want it to be from under the bust (does that make sense?) I used a 25 inch length for a short sassy apron for a tall lady.

For the sash cut two lengths the width of your fabric by 6.5 inches wide (I say 6.5 because it is the width of my measurer which makes it very easy....) Cut these in half lengthwise
For the neck straps, cut two pieces 25 inches long by 2 inches wide. This creates a somewhat narrow strap.

Step Three: Prepare body
Hem the body... Just do a quick, narrow hem around the bottom three edges of the body piece.

Then prepare the top for gathering. Using the longest stitch on your machine, run two parallel lines of stitching along the top. Be sure to anchor one end with a back stick and leave the other end with loose, long tails.

Mark the center of the top and set the body aside.
To be continued....
No comments:
Post a Comment