By demand... here's a tutorial for fabric buckets. I saw something similar on my favorite blog: www.soulemama.com, and naturally I bought the pattern she used, but still have not received it so I decided to make some of my own. I have NO idea if this is how they are made or not, but this is my interpretation and I totally "winged" the first one (the blue stripey) which came out quite well if I do say so myself. So without further ado here's how to make them.
You will need:
1 30x18 inch piece of heavy canvas
1 30x18 inch piece of cotton batting
1 30x18 inch piece of your outer fabric
2 3x 9 inch pieces of handle fabric (I used canvas for the wool bucket and the outer fabric for the other two)
Cutting mat
rotary cutter
scissors
iron
sewing machine
thread
 |
| Cut your pieces |
 |
| I made the handles out of the left over end piece |
 |
| Cut batting |
 |
| Lay batting over canvas, with "right sides" (the canvas) together, fold and sew down side and bottom |
 |
| Seaming..... |
 |
| Trim away excess. this stuff is BULKY and we don't want too much |
 |
| Seam the outer piece and clip corners |
To square off the bottom, line up side seam (and side fold) with bottom seam and press, then, use your ruler thingy to make a triangle, I use the 45 degree angle that is built into mine- in brings the side in about 3 inches from the corner. Repeat on the canvas and batting.
While you are at the ironing board, make the handles....
 |
| You will sew this together- I like a zig zag right over that crease |
 |
| Fold the bottom up wide and fold the top down narrow, then fold the top over to enclose raw edges |
 |
| Sew along your mark and cut off the triangle |
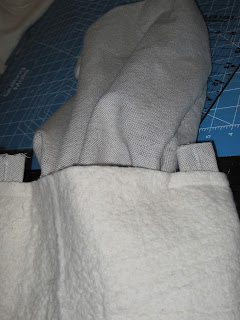
Here's the tricky part.... Take both pieces and put them right sides together matching the side seem and corners. Sandwich your handles between the pieces, leaving an inch or so sticking up. Make sure they are equi-distant from the sides and match each-other. Pin all the way around, then sew leaving a good size opening (I like leaving the side between handles open) to turn.
 |
| Turn the whole thing right sides out |
Stuff the canvas inside the outer piece. Bring it over to the ironing board and press your seam allowance in where your opening was and press all the way around.
 |
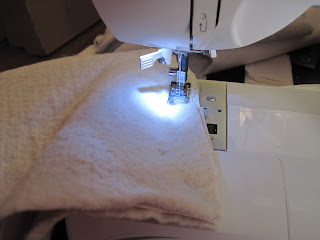
| Top stitch all the way around... |
 |
| Fluff and stuff! |
I hope it all made sense! lol


No comments:
Post a Comment