Monday, March 29, 2010

Apron tutorial finale

Sorry this took so long. I've been trying to outsmart the technology since Saturday. Ugh.

Anyway. To continue you should have both straps in place. At this point, the bodice it pretty much done...

Step 7: Gather the body about 4 inches wider than the bodice (so you have a little wrap around action). Be sure to secure the pulling ends of the thread when you reach desired width.

Photobucket

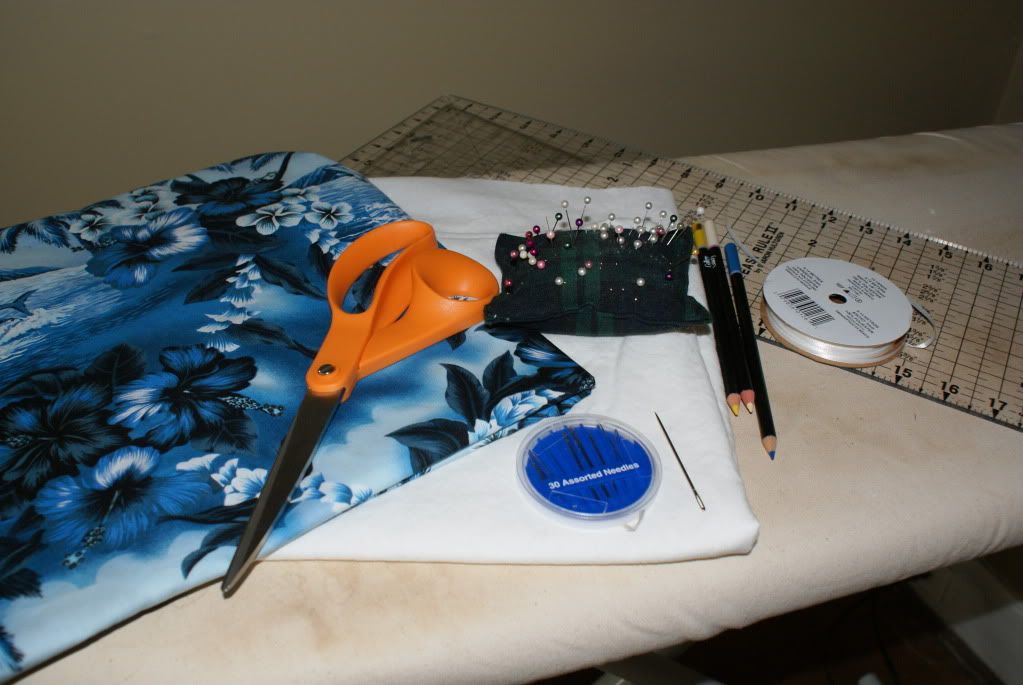
Now working on the sash....

Step 8: Grab your bodice, and sandwich it between the two sash pieces. (be sure that it is centered.

Photobucket

Pin and sew the ENTIRE length of the sash, from end over the bodice to the other end. Making sense?

Step 9: Attach the body. This is a little tricky to explain....

Take the FRONT part of the sash and (again, making sure everything is centered) pin it to the body RIGHT sides together (bodice front will be facing body front).

Photobucket

Step 10: Press the gathered part into the sash area, then press the seem allowance along the open lengths of the sash (both back and front pieces). Pin down even with the front of the sash.

Photobucket
(note, the bodice is at the bottom of the picture)

Sew from one end of the sash to the other, as close to the edge as possible.

Step 11: Finishing

Clip all loose threads, turn over ends of straps and sash then hem them. Make sure to pull out any of the visible gathering threads, too. They are not pretty! But very very easily removed.

Tada!


Photobucket

Photobucket

Step 12: Wear it with sass!
(The lovely woman I made this one for put it on right away and said to her husband "look, I could wear this with nothing underneath to cook!" At that point we wondered if we should leave... LOL)


Extras:

My pink one has two chunky pockets that were made by cutting rectangles just about the size I wanted my pockets to be, hemming the top and pressing under seam allowance along the three sides. Then I top stitched them right onto the apron.

You could also make it a button closure on the back of the sash or the neck straps, and/or bring the straps straight back to the sash and sew them on (like bra straps I guess...)

Most important, make it your own and have fun! (And wear clothes under when company comes for dinner. )

Friday, March 26, 2010

Apron tutorial part 2

Now we are on to the trickier parts to explain.

Preparing the bodice:

Step 4: Create top casing

Mark the center, about an inch and a half from the top, create an eyelet (for the draw-string) Or a small buttonhole.
Photobucket

Photobucket

Make the casing by folding and pressing about a quarter of an inch, then over about 3/4 of an inch (so the raw edge is inside the casing).

Photobucket

Pin and sew the casing down, close to edge.

Step 5: Add ribbon drawstring

Cut a nice long length of ribbon- maybe 30 inches or so.

Using a large darning needle or safety pin, thread ribbon through casing, up through the eyelet, pin the ribbon to the casing opening, continue through the rest of the casing, and pin the other end to the other opening. You should have a loop of ribbon hanging out through the eyelet.

Photobucket

Photobucket

Stitch the end of the ribbon down.

Photobucket

Step 5: Gather bottom of bodice, using the same technique as the top of the body. Gather to about 12 inches for a small, or adjust to your size (this part should cover your boobs).

Photobucket

Step 6: Attach neck straps.

With right sides together, pin on of the neck straps along the side of the bodice and sew.
Photobucket

turn and press the seam allowance along the remaining length of the neck strap,
Photobucket

And along the opposite edge. Fold in half lengthwise, aligning the edges on the wrong side just behind the front (so you don't see it when looking from the front straight on). Pin and sew the length.

Photobucket

Photobucket

Repeat on the other side...

To be continued....

Thursday, March 25, 2010

Apron tutorial part 1


I love aprons... I made my pink confection a few days ago and got such a great response I decided to make a tutorial on how to make your very own. The one in this tutorial is for my friend for her birthday. I hope she likes it!

Step one, gather materials and tools:


1.25-1.5 yards Fashion Fabric
-.25- .5 yards contrast fabric for 'sash' and neck straps
-matching or contrasting thread
-20 inches thin satin ribbon for draw string
-Fabric Shears or rotary cutter
-Ruler or measuring tape and straight edge
-Sewing machine or hand needles
-Iron and board

Step Two: Cut out the parts

Cut a rectangle about 24 inches long by 6.5 inches wide, this will become the bodice.
Photobucket

For the body, cut a rectangle the width of your fabric by how long you want it to be from under the bust (does that make sense?) I used a 25 inch length for a short sassy apron for a tall lady.

Photobucket

For the sash cut two lengths the width of your fabric by 6.5 inches wide (I say 6.5 because it is the width of my measurer which makes it very easy....) Cut these in half lengthwise

For the neck straps, cut two pieces 25 inches long by 2 inches wide. This creates a somewhat narrow strap.

Photobucket

Step Three: Prepare body

Hem the body... Just do a quick, narrow hem around the bottom three edges of the body piece.

Photobucket

Then prepare the top for gathering. Using the longest stitch on your machine, run two parallel lines of stitching along the top. Be sure to anchor one end with a back stick and leave the other end with loose, long tails.

Photobucket

Mark the center of the top and set the body aside.


To be continued....


So I want to be a sassy housewife....

First and foremost, I would like to dispel this new 'myth' that housewives are outdated, frumpy, boring, losers or whatever (yes, these are adjectives that have been said to my face.)

I love being a housewife for many reasons. The most important being I love my husband and I want to make our home a fun, comfortable place for him to come home to (which I am working on....) I also get to go to school, work on side projects and in general pursue my own interests. What could be better?

But, I feel like the past year or so I have been slacking. I wear sweats all the time, I've been a little negligent in my cleaning and baking... over all, I feel like I've been a "bad" housewife, and it's time to turn that around. This "blog" is for my journey to better wifedom, a happy life and just random fun stuff I want to share with other sassy ladies.