Anyway. To continue you should have both straps in place. At this point, the bodice it pretty much done...
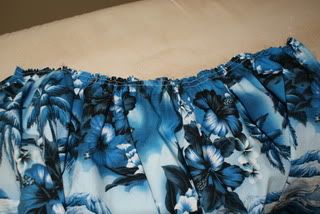
Step 7: Gather the body about 4 inches wider than the bodice (so you have a little wrap around action). Be sure to secure the pulling ends of the thread when you reach desired width.
Now working on the sash....
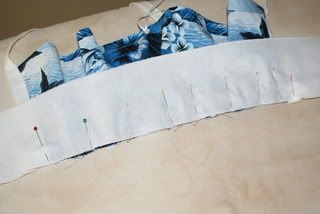
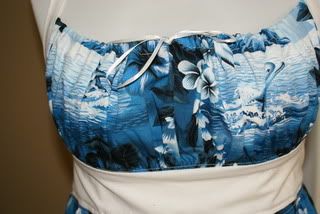
Step 8: Grab your bodice, and sandwich it between the two sash pieces. (be sure that it is centered.
Pin and sew the ENTIRE length of the sash, from end over the bodice to the other end. Making sense?
Step 9: Attach the body. This is a little tricky to explain....
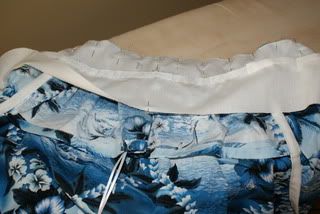
Take the FRONT part of the sash and (again, making sure everything is centered) pin it to the body RIGHT sides together (bodice front will be facing body front).
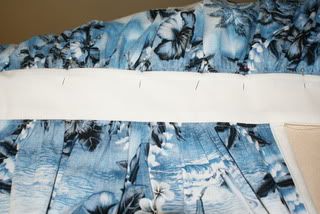
Step 10: Press the gathered part into the sash area, then press the seem allowance along the open lengths of the sash (both back and front pieces). Pin down even with the front of the sash.
(note, the bodice is at the bottom of the picture)
Sew from one end of the sash to the other, as close to the edge as possible.
Step 11: Finishing
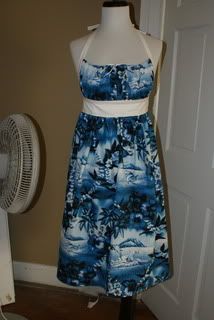
Clip all loose threads, turn over ends of straps and sash then hem them. Make sure to pull out any of the visible gathering threads, too. They are not pretty! But very very easily removed.
Tada!
Step 12: Wear it with sass!
(The lovely woman I made this one for put it on right away and said to her husband "look, I could wear this with nothing underneath to cook!" At that point we wondered if we should leave... LOL)
Extras:
My pink one has two chunky pockets that were made by cutting rectangles just about the size I wanted my pockets to be, hemming the top and pressing under seam allowance along the three sides. Then I top stitched them right onto the apron.
You could also make it a button closure on the back of the sash or the neck straps, and/or bring the straps straight back to the sash and sew them on (like bra straps I guess...)
Most important, make it your own and have fun! (And wear clothes under when company comes for dinner. )
No comments:
Post a Comment